Mastering Markdown and Development Tools: A CS Student’s Guide to Efficiency
Markdown: The ultimate dev productivity hack. Transform your notes with simple syntax that beats HTML and word processors. Learn how to create professional documents effortlessly, convert files with ease, and level up your workflow in minutes.

The single most valuable tool in my workflow is Markdown
Markdown is an easy-to-learn and highly versatile plain text syntax language. Think of it as a simplified version of HTML.
If you ever played with web dev you might have seen syntax that looks like this.
<body>
  <h1>This is a header</h1>

  <p>This is a paragraph</p>
</body>
This code translates in your browser to text that looks like this:
Pretty cool right!
But writing out notes like this is tedious and not any more efficient then popping open Google Docs or Microsoft Word.
The syntax is dead simple, allowing you to create text that renders like the HTML snippet above with a fraction of the effort.
In a .md file (any file with the .md extension), you can write:
# This is a header

This is a paragraph.
Markdown is incredibly simple
I hope you see how valuable this tool can be for creating notes.
In a bit, I’ll show you ways to convert your Markdown text into popular formats like PDF, DOCX, and HTML. But first, here’s a rundown of some of my favorite Markdown features.
Just know Markdown has many features, many of which you might not use frequently. Furthermore, there are flavors of markdown which have additional features and slightly different syntax.
Markdown Syntax Basics: Key Tools for Developers
Headers
# Header 1 (title)

## Header 2 (subsection)

### Header 3

#### Header 4
Headers go up to 6 levels, but I usually stop at 3, or maybe 4 in rare cases.
Paragraphs
Paragraphs in Markdown are separated by a blank line.
This is one whole paragraph.

This is a different paragraph.
Markdown does not recognize single line breaks as new paragraphs, meaning you can make your paragraphs more readable by splitting them into multiple lines.
Code Blocks
To insert code in Markdown, use three backticks (```).
```java
public class HelloWorld {
  public static void main(String[] args) {
    System.out.println("Hello World");
  }
}
```
For syntax highlighting, specify the language after the opening backticks (e.g., java).
Bold and Italics
**This is bold text**
*This is italicized text*
Depending on your editor, familiar shortcuts likeCtrl + BorCtrl + Imay work as well.
There's more to explore such as:
- Tables
- Bulleted and Numbered Lists
- Mathematic Symbols and Equations (KaTex/Latex)
If you’re interested in learning more, check out Markdown Guide. It’s a fantastic resource for exploring Markdown syntax, tools, and features!
Top Markdown Editors for Productivity
Once you understand Markdown, organizing your notes becomes the next step.
Here are a few popular editors and their unique features:
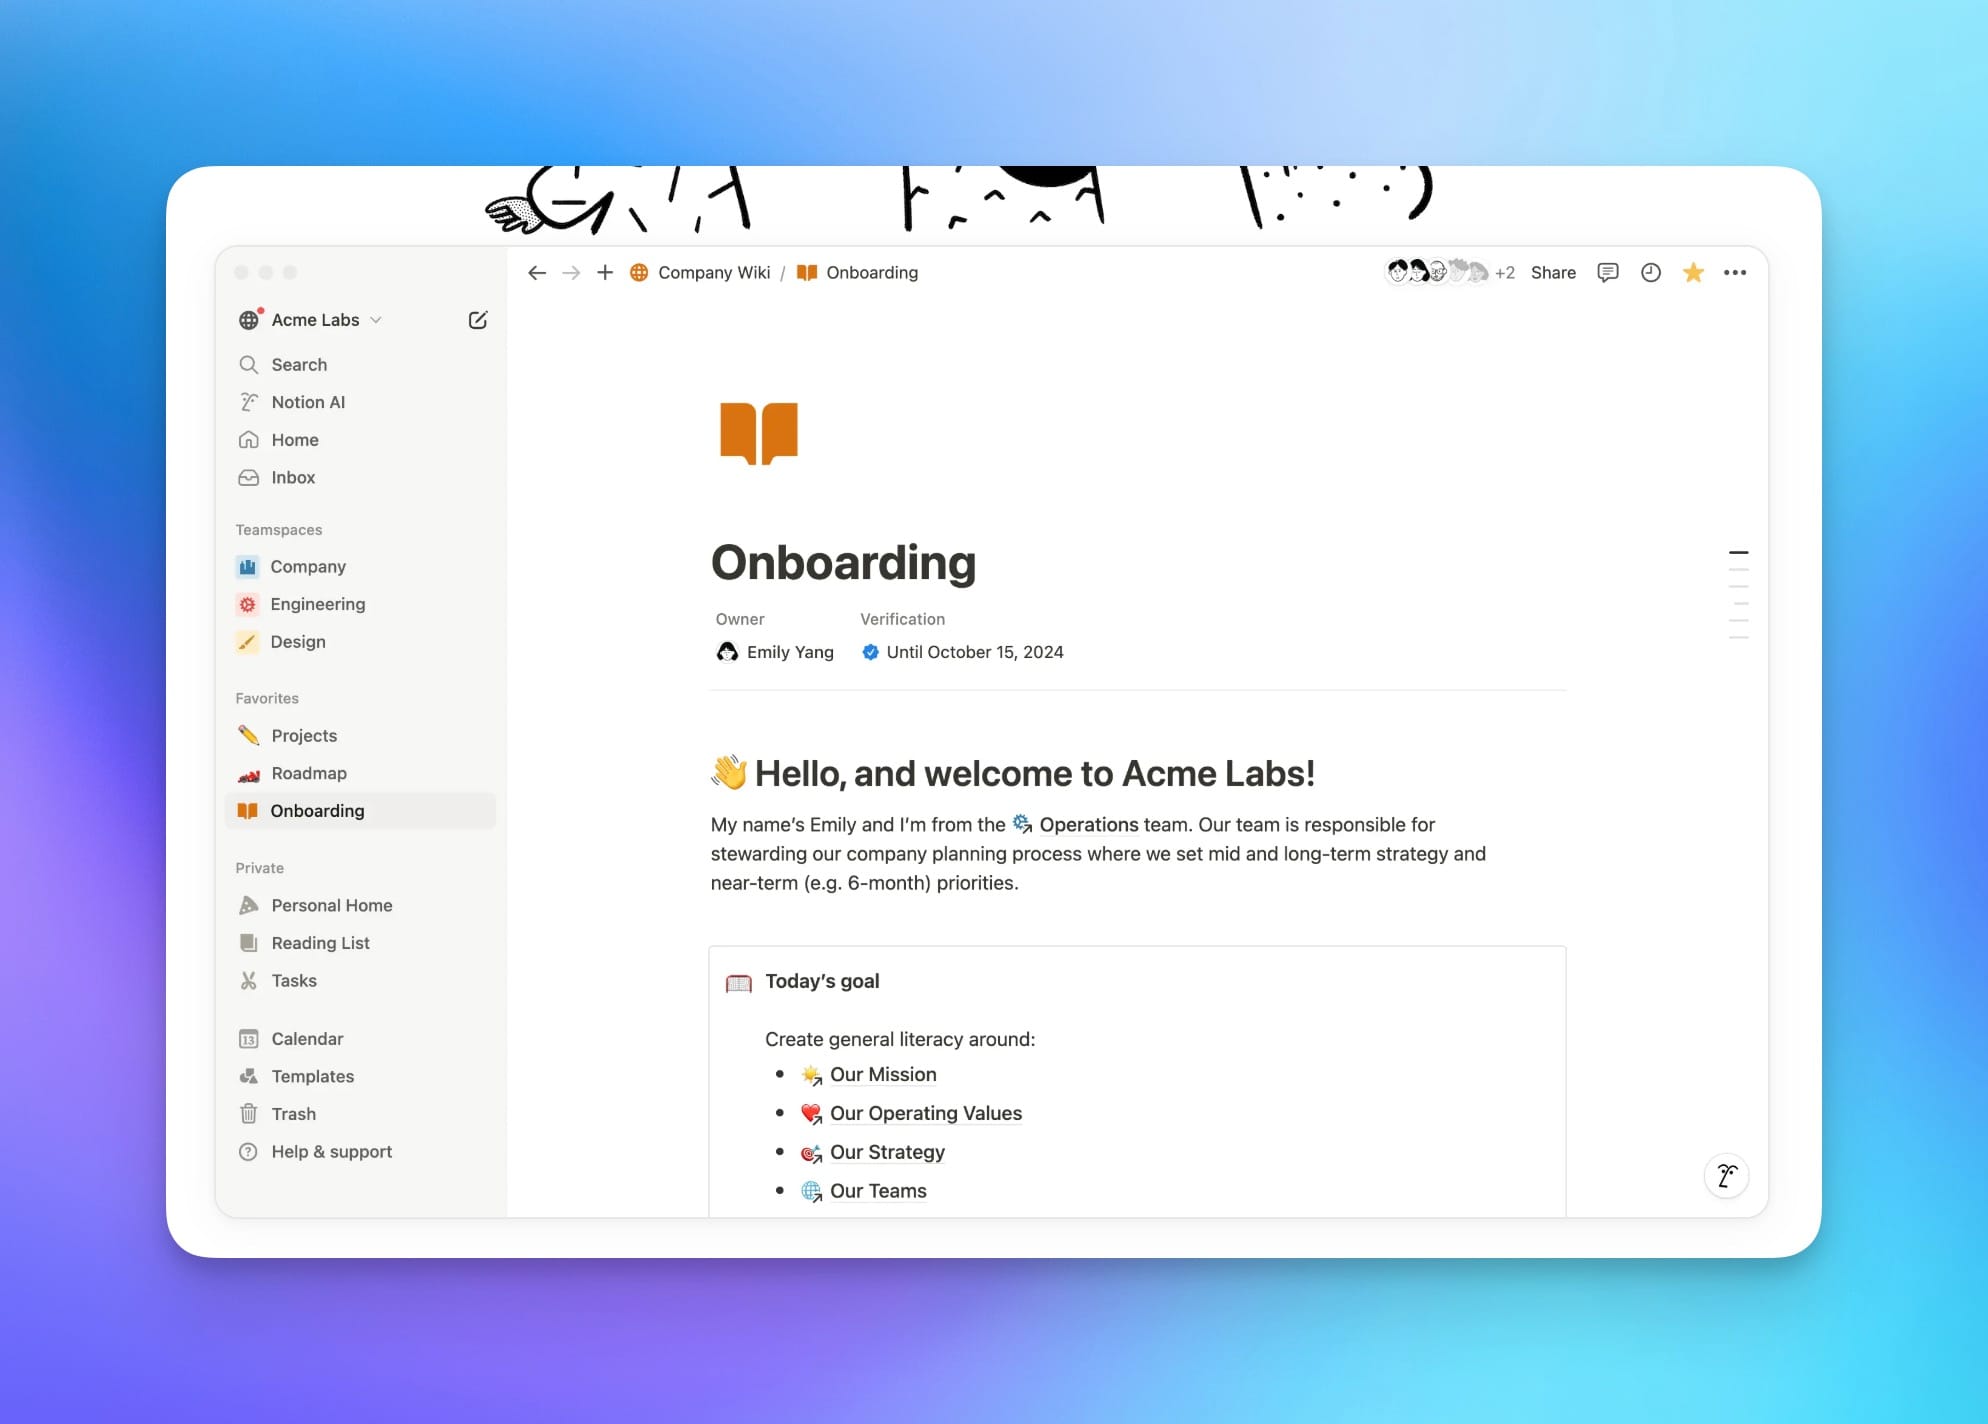
Notion (versatile alternative to traditional word processors that has markdown syntax built into its editor)
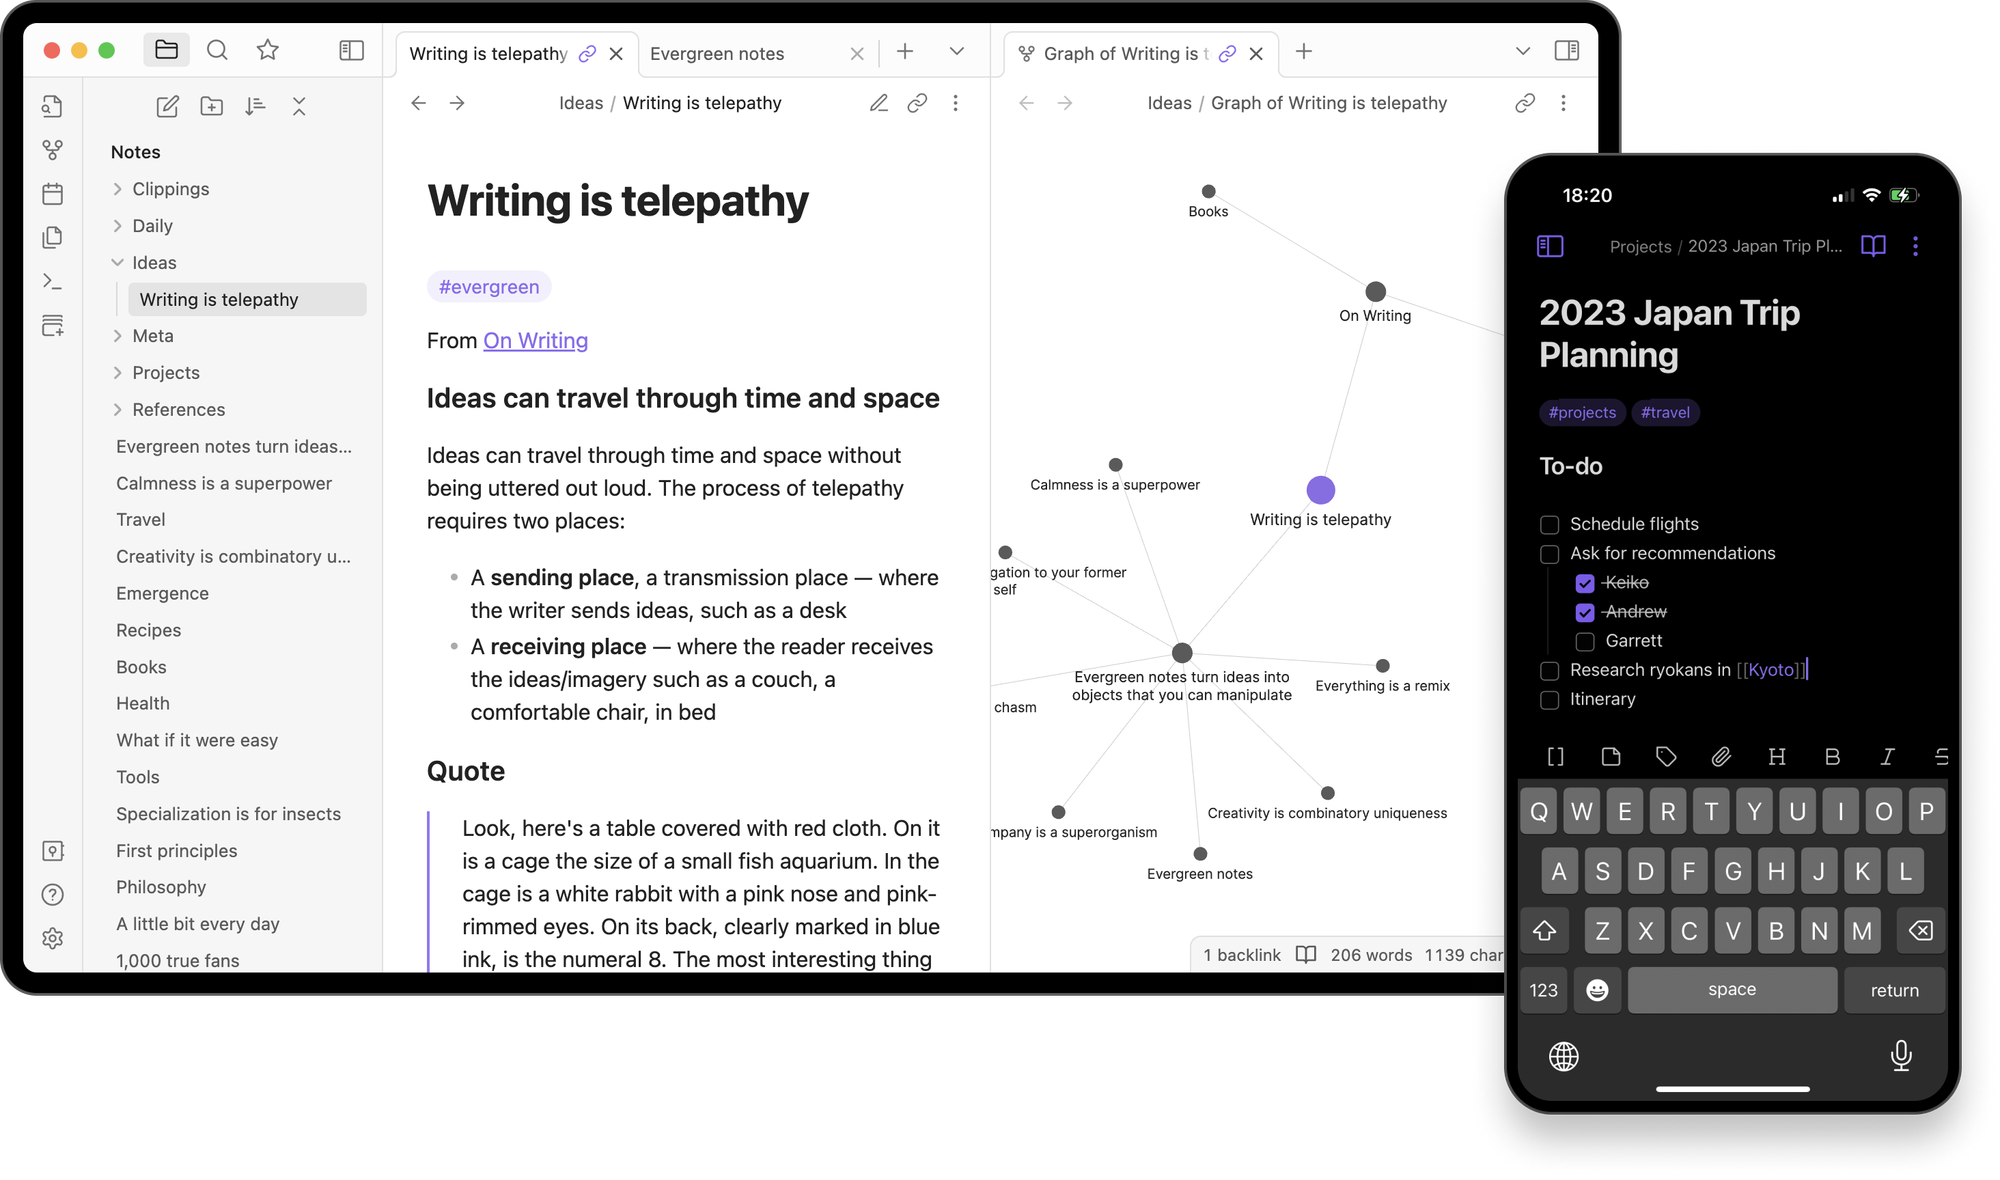
Obsidian (super powered markdown editor, which utilizes connections to form graphs/webs of interconnected notes)
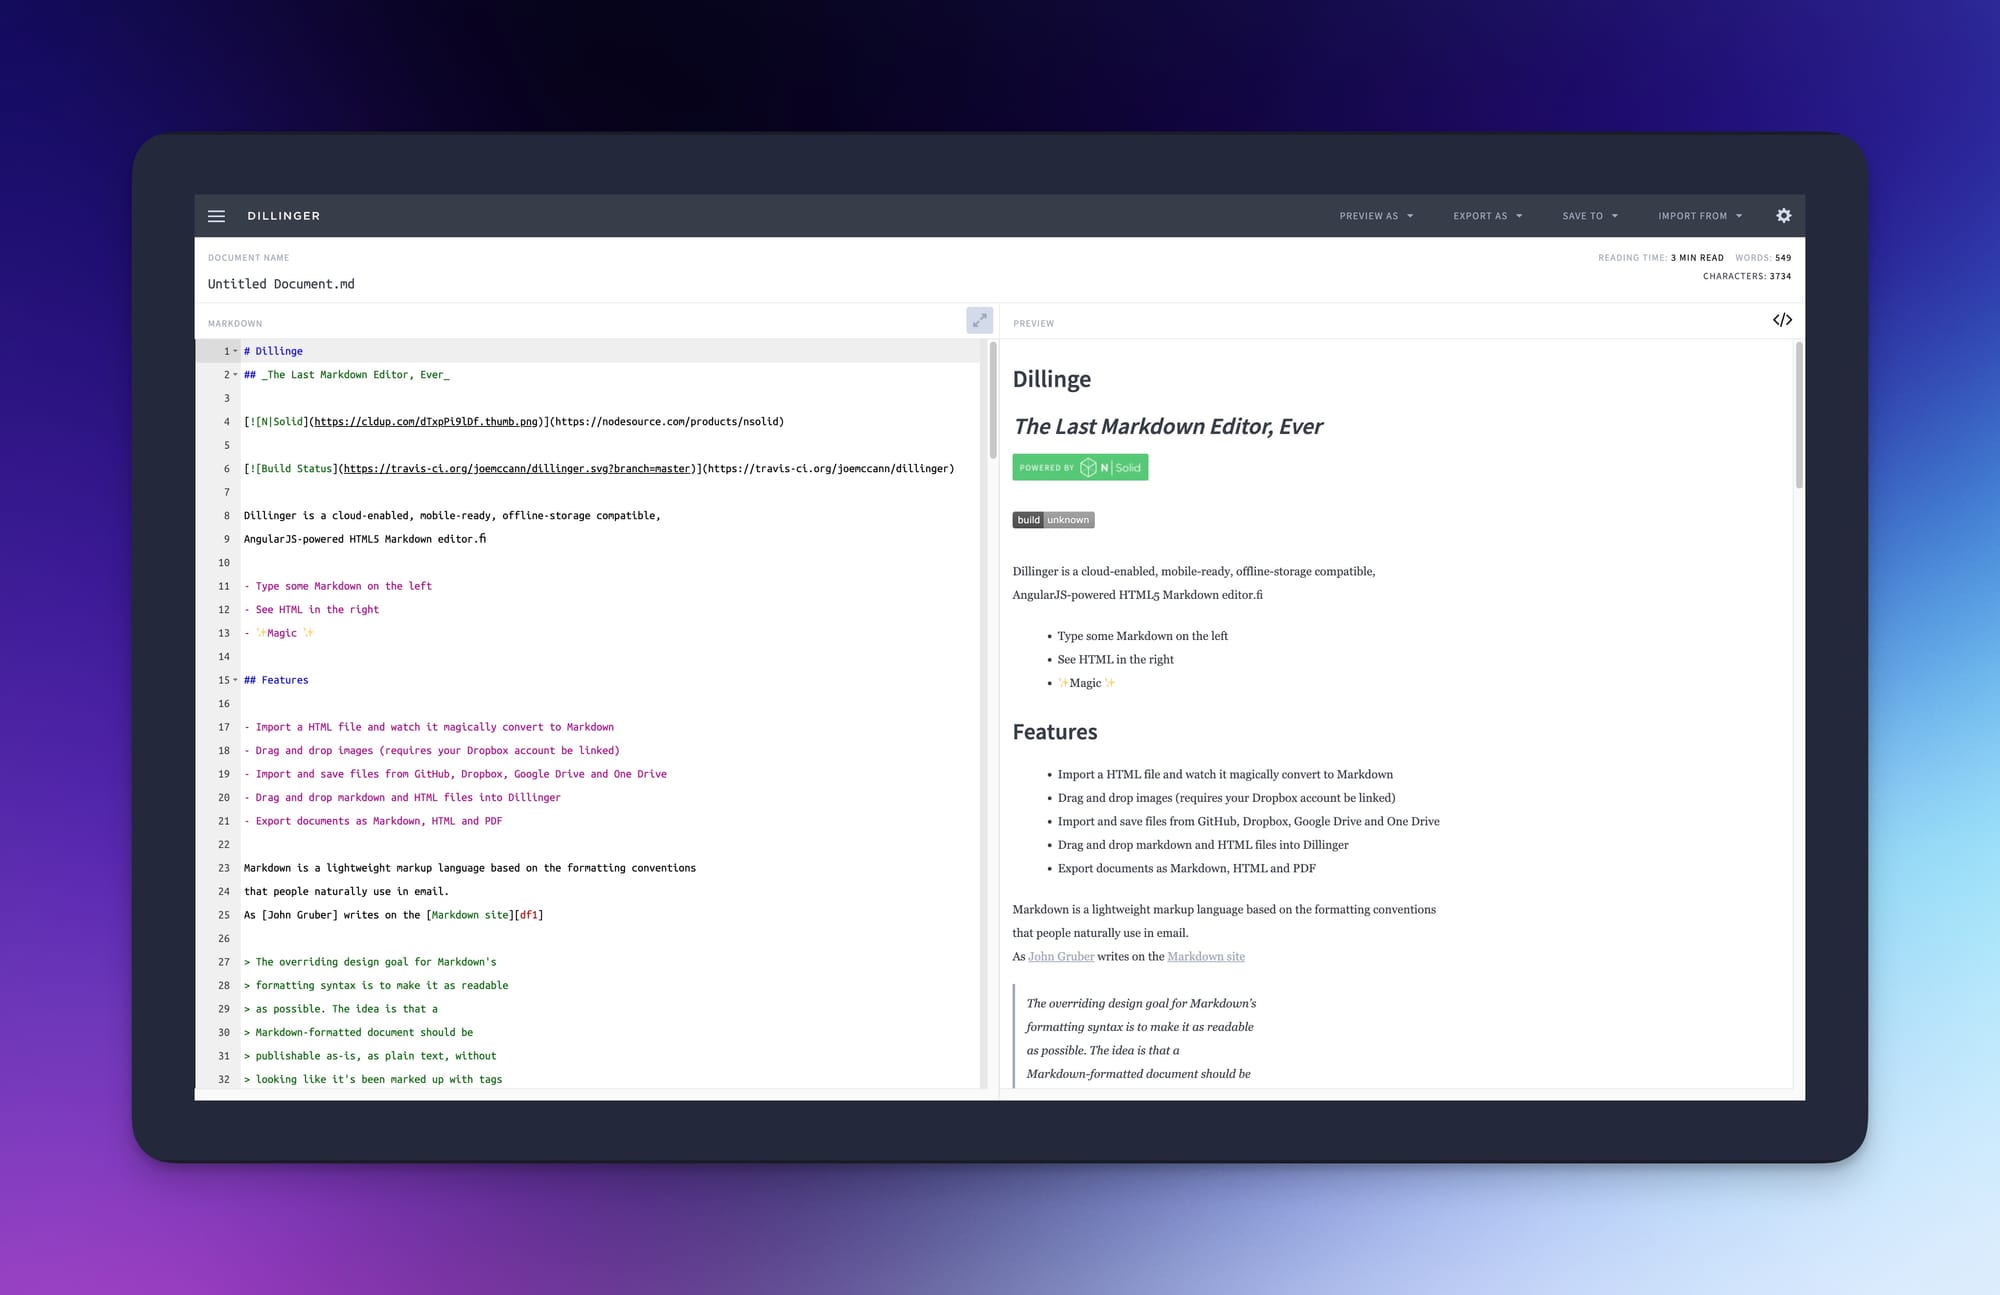
Dillinger (online markdown editor, that gives you the power of markdown in the browser)
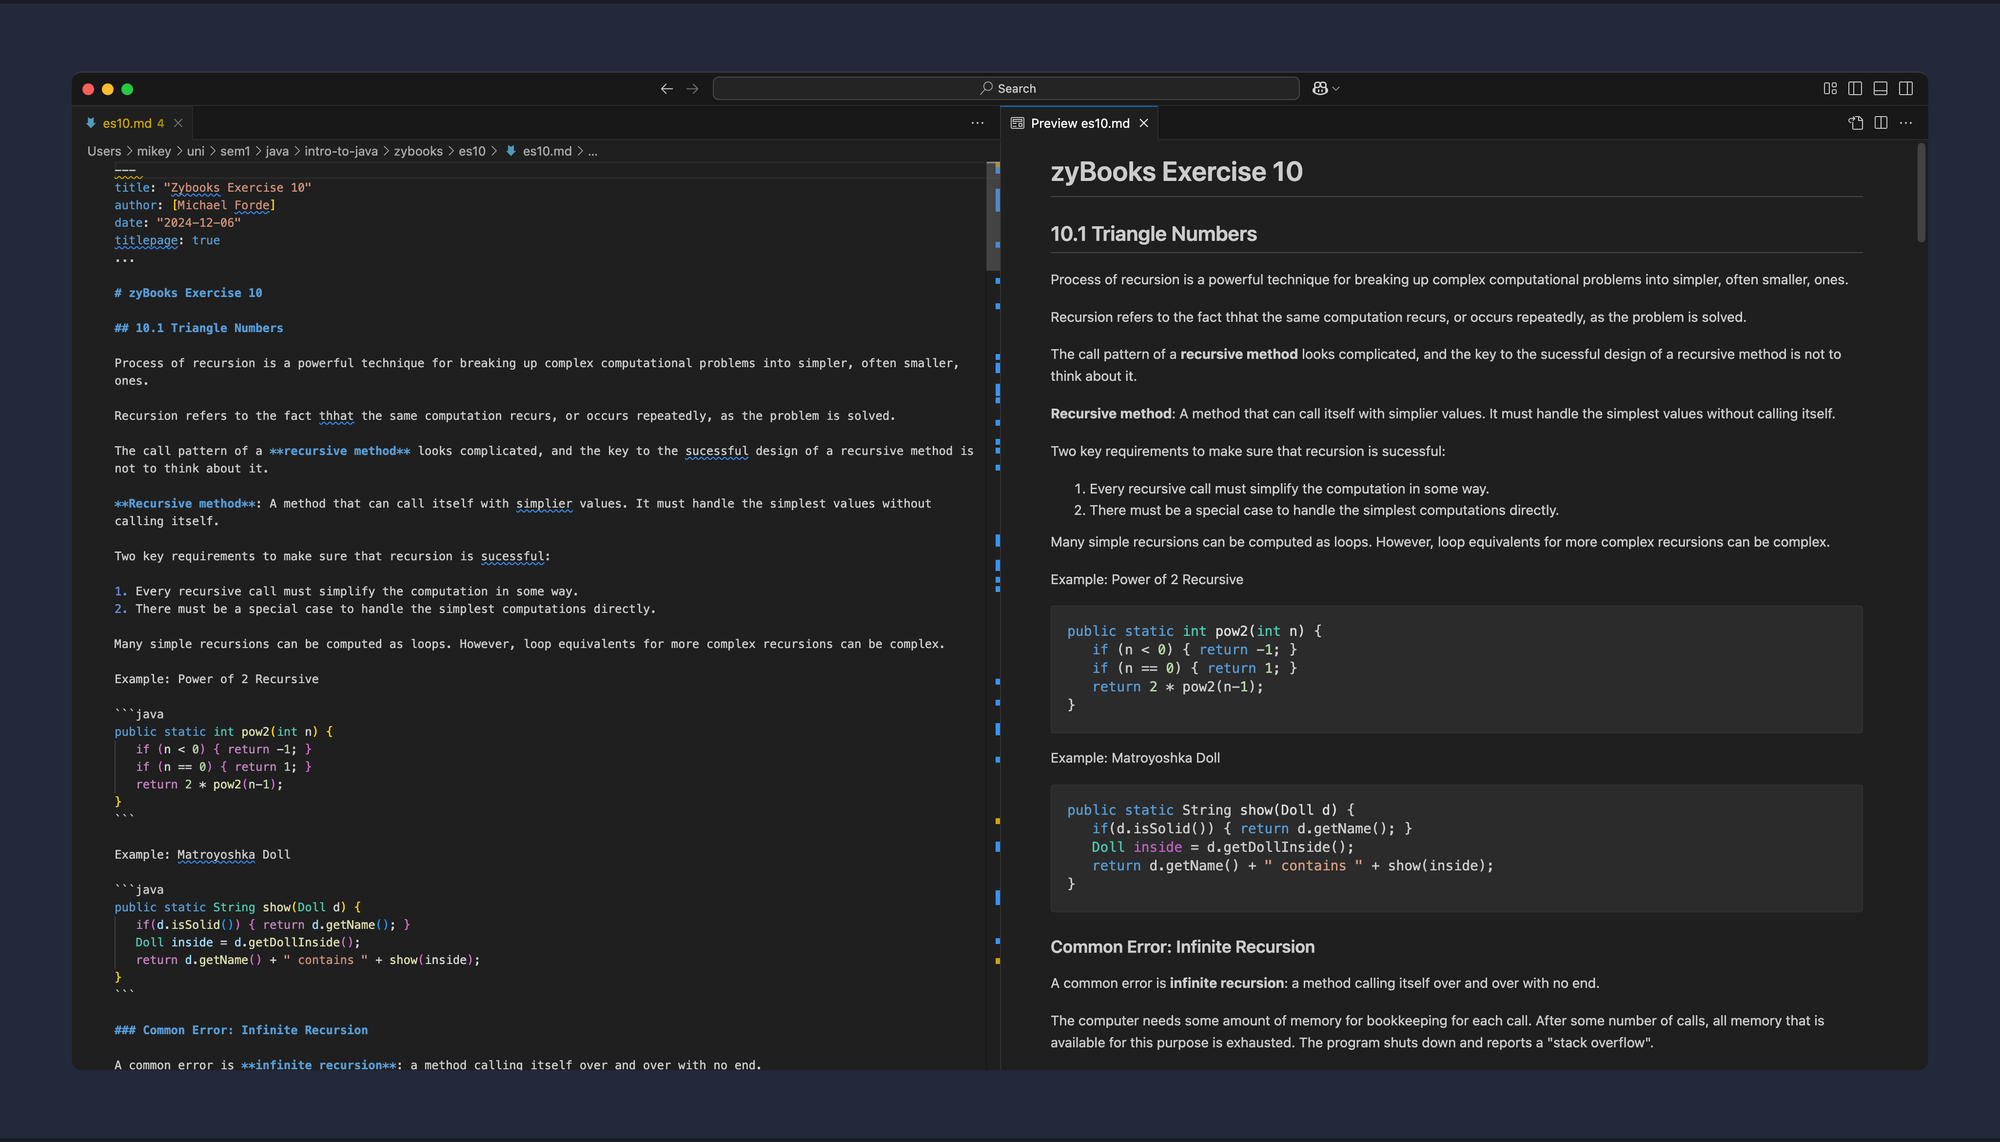
If you’re a VS Code user, you don’t need to abandon your favorite editor. VS Code has built-in Markdown support. Just edit a .md file and use ⇧⌘P (Mac) or Ctrl + Shift + P (Windows) and use the option Open Preview to the Side.
This allows you to have a neat editor like below which is pretty close to my markdown workflow. Stick around to read how I organize my .md files on my computer.
For any VS Code extension fans - there are a slew of good options to super-power your Markdown editing.
If your interested in trying these tools check out these sub reddit for getting started and inspiration!
Convert Markdown Notes: Export Options & Custom Scripts
Many Markdown editors have built-in export options for popular formats. However, if you’re like me and value customization, consider using Pandoc, a universal markup converter.
Introduction to Pandoc: The Universal Document Converter
Pandoc is a CLI (command-line interface) tool.
Disclaimer: This guide is primarily tailored for macOS users. If you're using Windows or Linux, the setup process will differ slightly. You'll need to follow the specific installation instructions for your operating system as outlined in the Pandoc installation guide. Many of the commands and tools mentioned, like Homebrew, are macOS-specific. However, alternatives exist for other platforms—be sure to explore them!
Setting Up Homebrew for Tool Management
If you're using a Mac, Homebrew is a must-have package manager that simplifies installing and managing software like Pandoc and Markdown editors. Installing Homebrew is straightforward:
/bin/bash -c "$(curl -fsSL https://raw.githubusercontent.com/Homebrew/install/HEAD/install.sh)"Installing pandoc
Using the brew utility that I introduced above installing pandoc is as easy as running the following command:
brew install pandoc
It's that easy. This is just one example of the handiness of homebrew, so any Mac users who haven't already installed homebrew. Go download it now, then come back... I'll wait.
Basic Pandoc Usage
Now for using pandoc check out this resource for tons of examples of cool conversions the tool can do.
I'll show you my go to command and how I created a custom script to make my life a little bit easier.
To convert your Markdown file to a pdf simply run:
pandoc <input file>.md -o <output file>.pdf
Note: to convert to pdf, pandoc requires a pdf-engine. These can be found in popular LaTex distributions such as MacTex, BasicTex, and TinyTex. If your unsure how to install those on your own I recommend using this command brew install --cask basictex to install BasicTex which is a lightweight Latex distribution.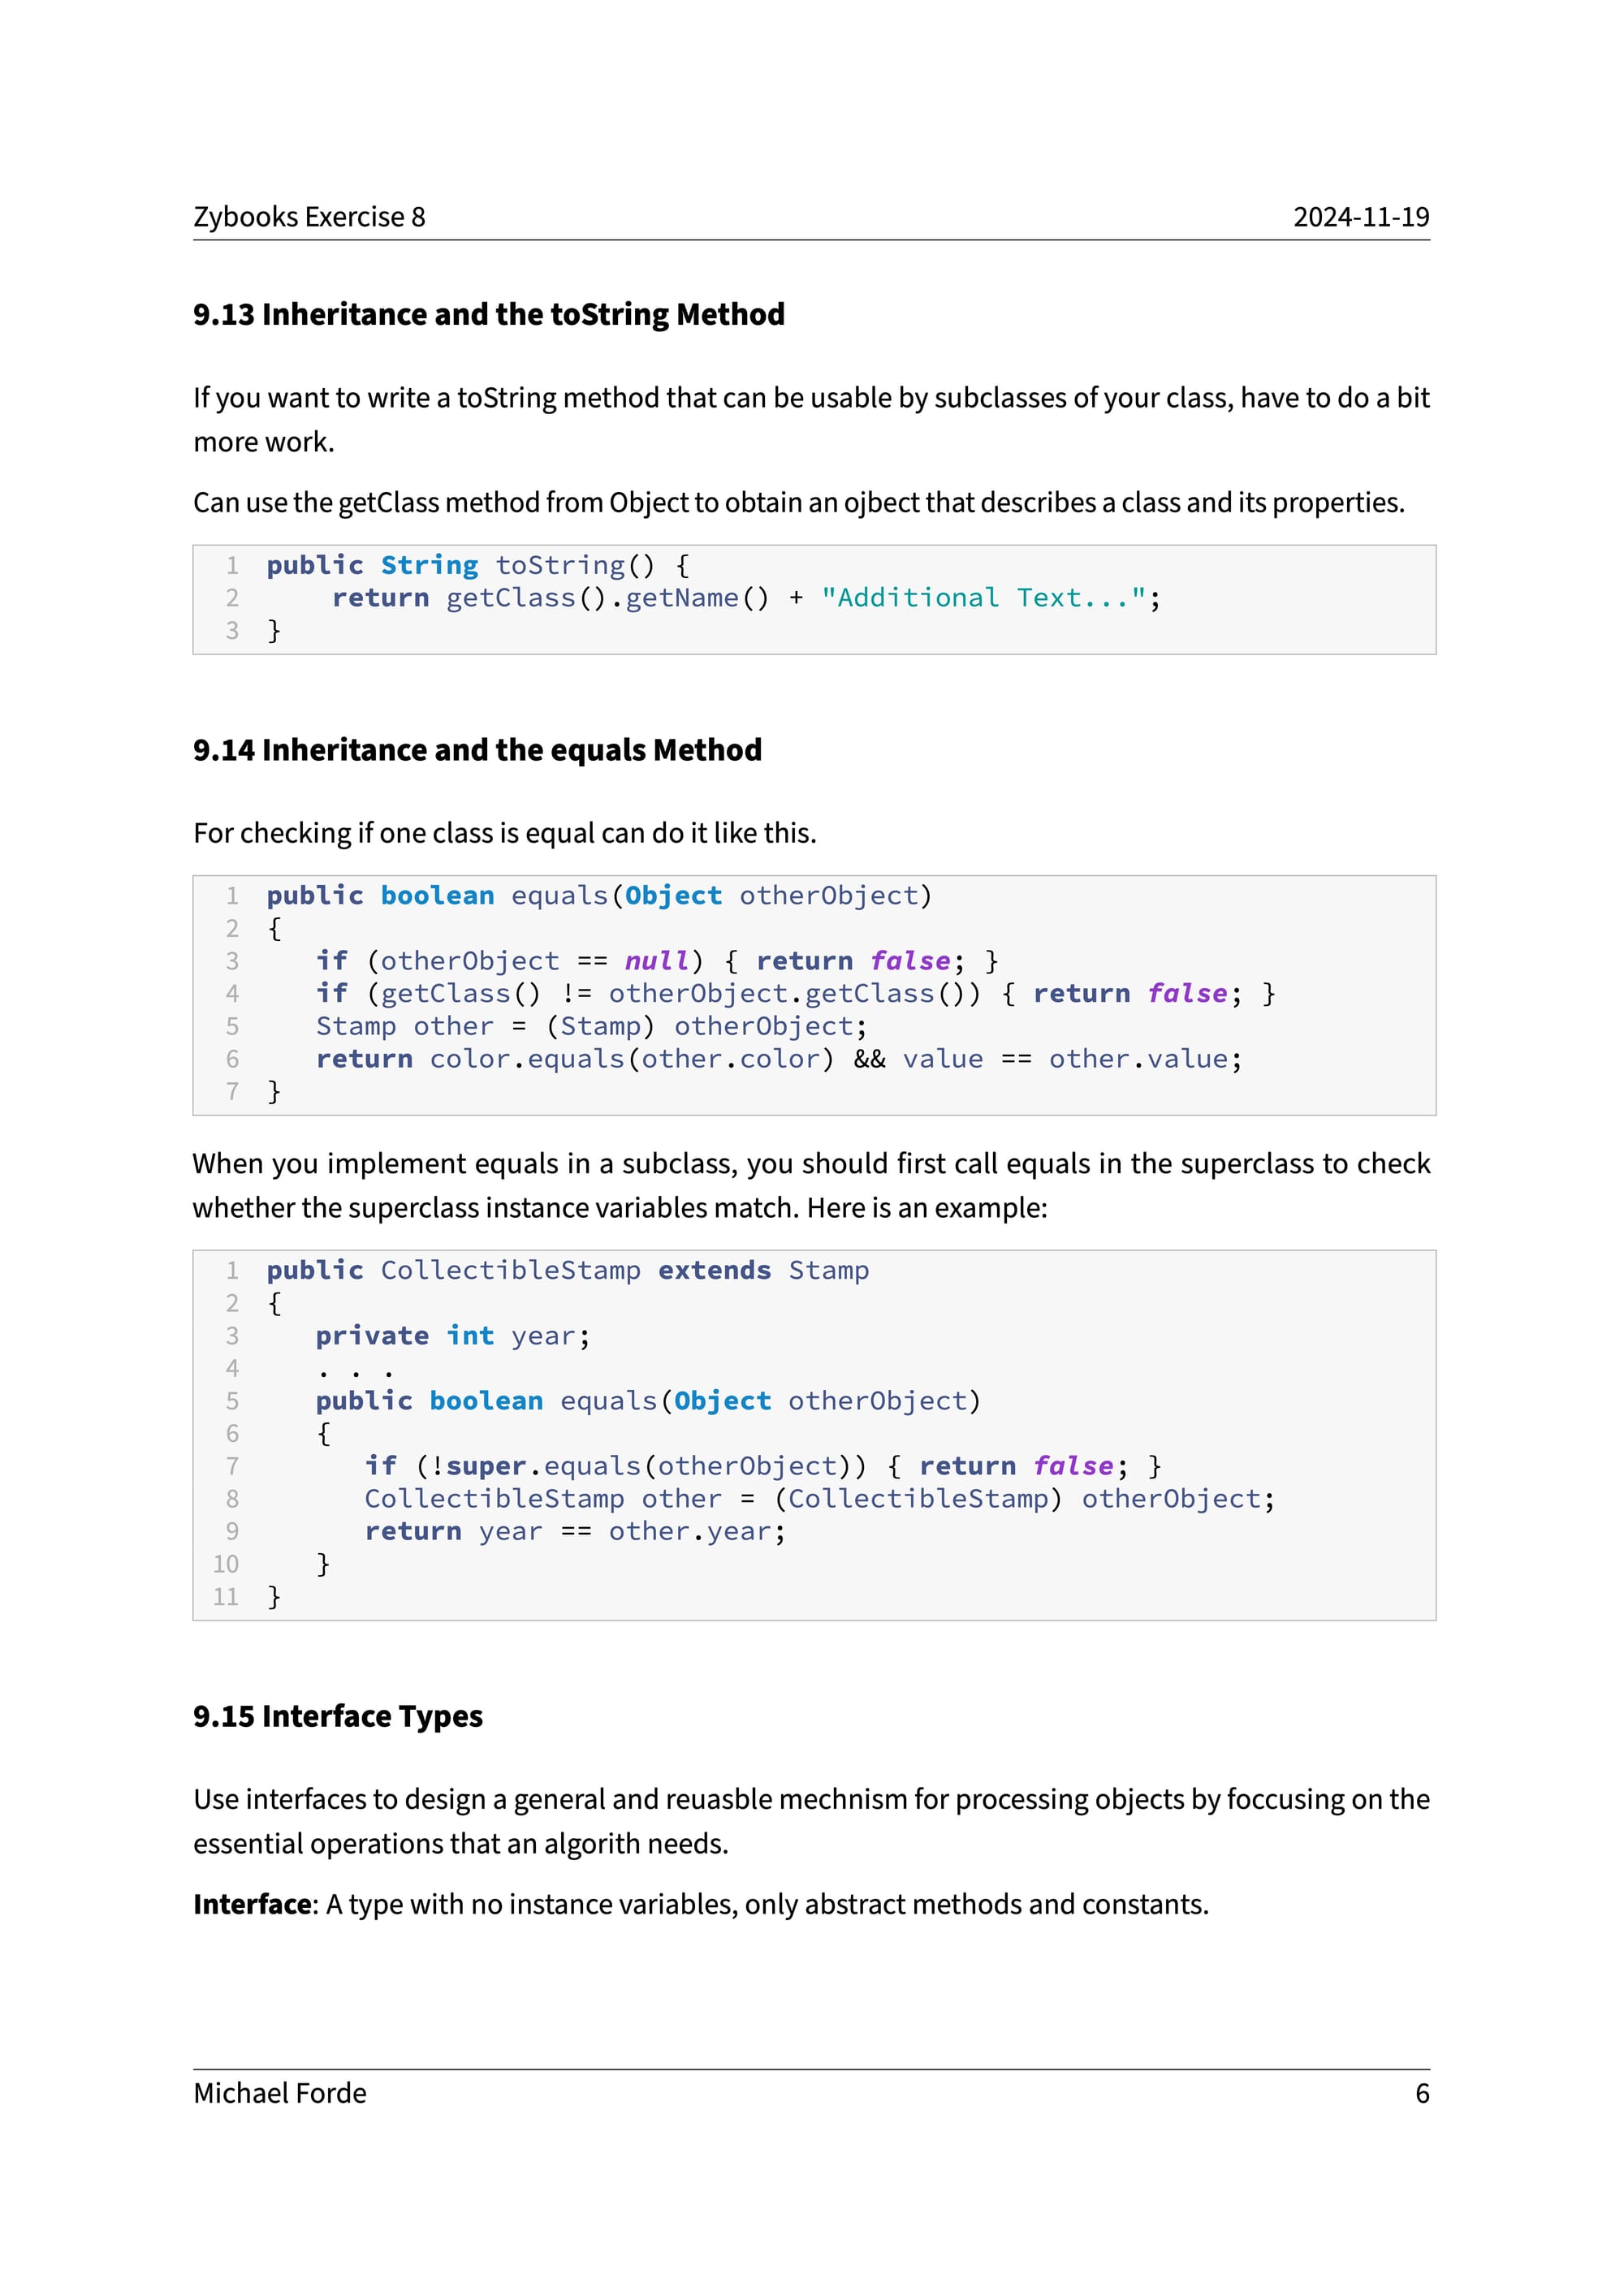
Creating and Testing Your Markdown to PDF Script
#!/bin/bash

# Check if the correct number of arguments is provided
if [ "$#" -ne 1 ]; then
    echo "Usage: $0 <markdown-file>"
    exit 1
fi

# Get the input markdown file and output PDF file names
input_file="$1"
output_file="${input_file%.md}.pdf"

# Convert the markdown file to PDF using Pandoc with the Eisvogel template
pandoc "$input_file" --template eisvogel -o "$output_file" --listings

# Check if the conversion was successful
if [ $? -eq 0 ]; then
    echo "Successfully converted $input_file to $output_file"
else
    echo "Failed to convert $input_file"
    exit 1
fi
My md2pdf script
- Download the Template:
- Follow the steps in this repository to download the template onto your computer.
- Create the Script:
- Open a text editor and paste the script above into a file. For example, name the file
md2pdf.sh(a common convention for shell scripts).- If you plan to make the script globally accessible, you can omit the .sh extension for simplicity.
- Open a text editor and paste the script above into a file. For example, name the file
- Make the Script Executable:
- In your terminal, navigate to the directory where your script is saved.
- Run the following command to make your script executable:
chmod +x md2pdf.sh
- Test the Script:
- To run the script, use the following command:
bash md2pdf.sh <input_file.md> <output_file.pdf>
- To run the script, use the following command:
Replace<input_file.md>with the path to your Markdown file, and<output_file.pdf>with the desired path for the output PDF.
If you'd like to make your script executable from anywhere in your terminal, you can do so by adding it to a directory in your PATH, such as /usr/local/bin. This allows you to run the script with a simple command, like:
md2pdf <input_file.md> <output_file.pdf>
To learn more about making scripts globally accessible, you can explore this topic further in this resource. It's a useful way to streamline your workflow!
I hope you will give Markdown, a try, and checkout some of the tools linked above! Feel free to connect with me about your experience or if you have any difficulties.
This blog post was inspired by my friend Jude, who is currently taking the Intro to CS in Java at Columbia University. After completing the course myself during my freshman fall and developing a note-taking system that worked well for me, I spent some time helping him set up his development environment. I hope this guide serves as a helpful starting point for anyone looking to optimize their own dev setup and workflow.