Crafting the Ultimate Dev Environment: My Essential Tools & Workflow

A development environment (or "dev environment") is a programmer's workspace. It consists of CLI tools, applications, IDEs, packages, and other tools that make a developer's work more efficient.
As a CS student and aspiring software engineer, my workspace is configured to:
- Maintain a clean and distraction-free development environment.
- Utilize powerful terminal and window management tools to maximize productivity.
- Leverage a highly configurable and efficient code editor tailored for multipurpose development workflows.
- Balance automation with manual control, minimizing dependence on AI-assisted tooling.
I will share a few of my most used tools in my dev environment. I will provide links to each of the noted software for you to check it out and try it out for yourself. I can make individual tutorials on these technologies if there is interest!
I might even create a public version of my unix dotfiles
Hopefully, I can inspire you to check out the oddly named but wholesome r/unixporn community, and maybe you'll be inspired to emulate custom desktops like I did during high school.
Alright lets get into my setup!
Package Manager
One thing I missed most transitioning from linux to macOS was the package manager. A package manager is a software tool that automates the process of installing, updating, and removing packages.
This means no more browsing the internet for your favorite package, instead pop open the terminal and search for whatever you want in your package manager. Once you get used to using one, I promise you won't want to waste time on chrome anymore!
Homebrew - the macOS Package Manager
Although macOS doesn't come with a built-in package manager, there is a wonderful open-source option called Homebrew (brew for short).
Homebrew allows you to download and update packages without leaving the comfort of the terminal.
Check out their website to get started: https://brew.sh/. It's as simple as running one command to set it up.
Some key commands to get you started are:
brew list- List all installed applicationsbrew upgrade <optional>- Upgrade all installed applications or a particular appbrew update- updates Homebrewbrew search text- Search for available packages and appsbrew doctor- Check the local Homebrew installation for potential problems
Other OS Package Managers
For managing software on Windows, you have options like the built-in Windows Package Manager (winget), Chocolatey, and Scoop, each with its own strengths and weaknesses.
Linux users there are many options but each distribution comes with a preferred/default package manager!
Terminals
On macOS, I utilize two great terminal emulators that offer a snappier and more customizable experience than the default Terminal app.
WezTerm
WezTerm is a cross-platform terminal emulator written in Rust that is both customizable and performant.
To install WezTerm on Mac simply run brew install --cask wezterm
I utilize WezTerm as my main terminal emulator on my mac.
WezTerm is configurable using the Lua scripting language. I write a little more about learning Lua below, but for python programmers picking it up will be a breeze.
iTerm2
A longtime Mac power users favorite terminal iTerm2 is a powerful and customizable terminal emulator.
To install iTerm2 on Mac simply run brew install --cask iterm2
When I switched to Mac from Windows/Linux, I originally used iTerm2 as my main terminal emulator. It worked great and I had no big issues. However, I found WezTerm to be more lightweight for my needs and faster.
I still use iTerm2 daily as a Quake-style drop-down terminal for quick command-line interaction.
There are some other popular terminal emulators such as:
- Ghostty - a new high powered Zig based terminal emulator.
- Kitty - a fast, feature-rich, GPU based terminal emulator.
- and many more...
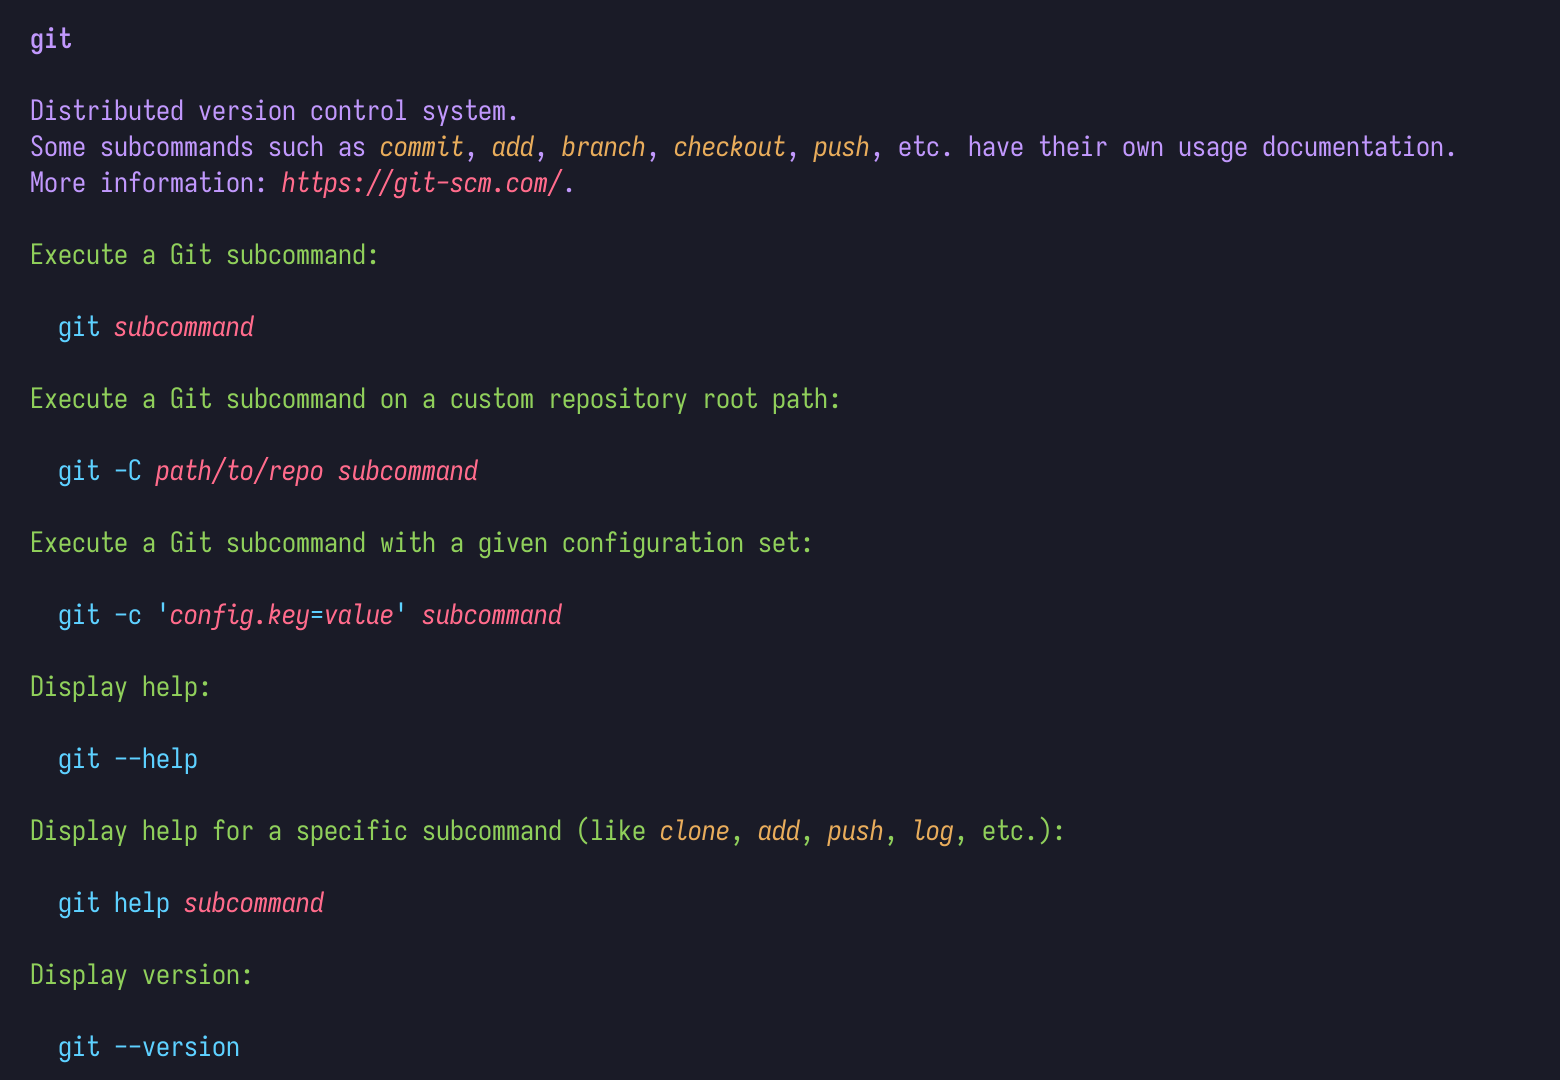
TLDR – A helpful command-line tool
A command-line tool that I've found especially helpful for quickly recalling syntax for common commands is tldr.
It provides simpler, human-readable summaries compared to the traditional man pages.
Check it out here: GitHub - tldr-pages/tldr
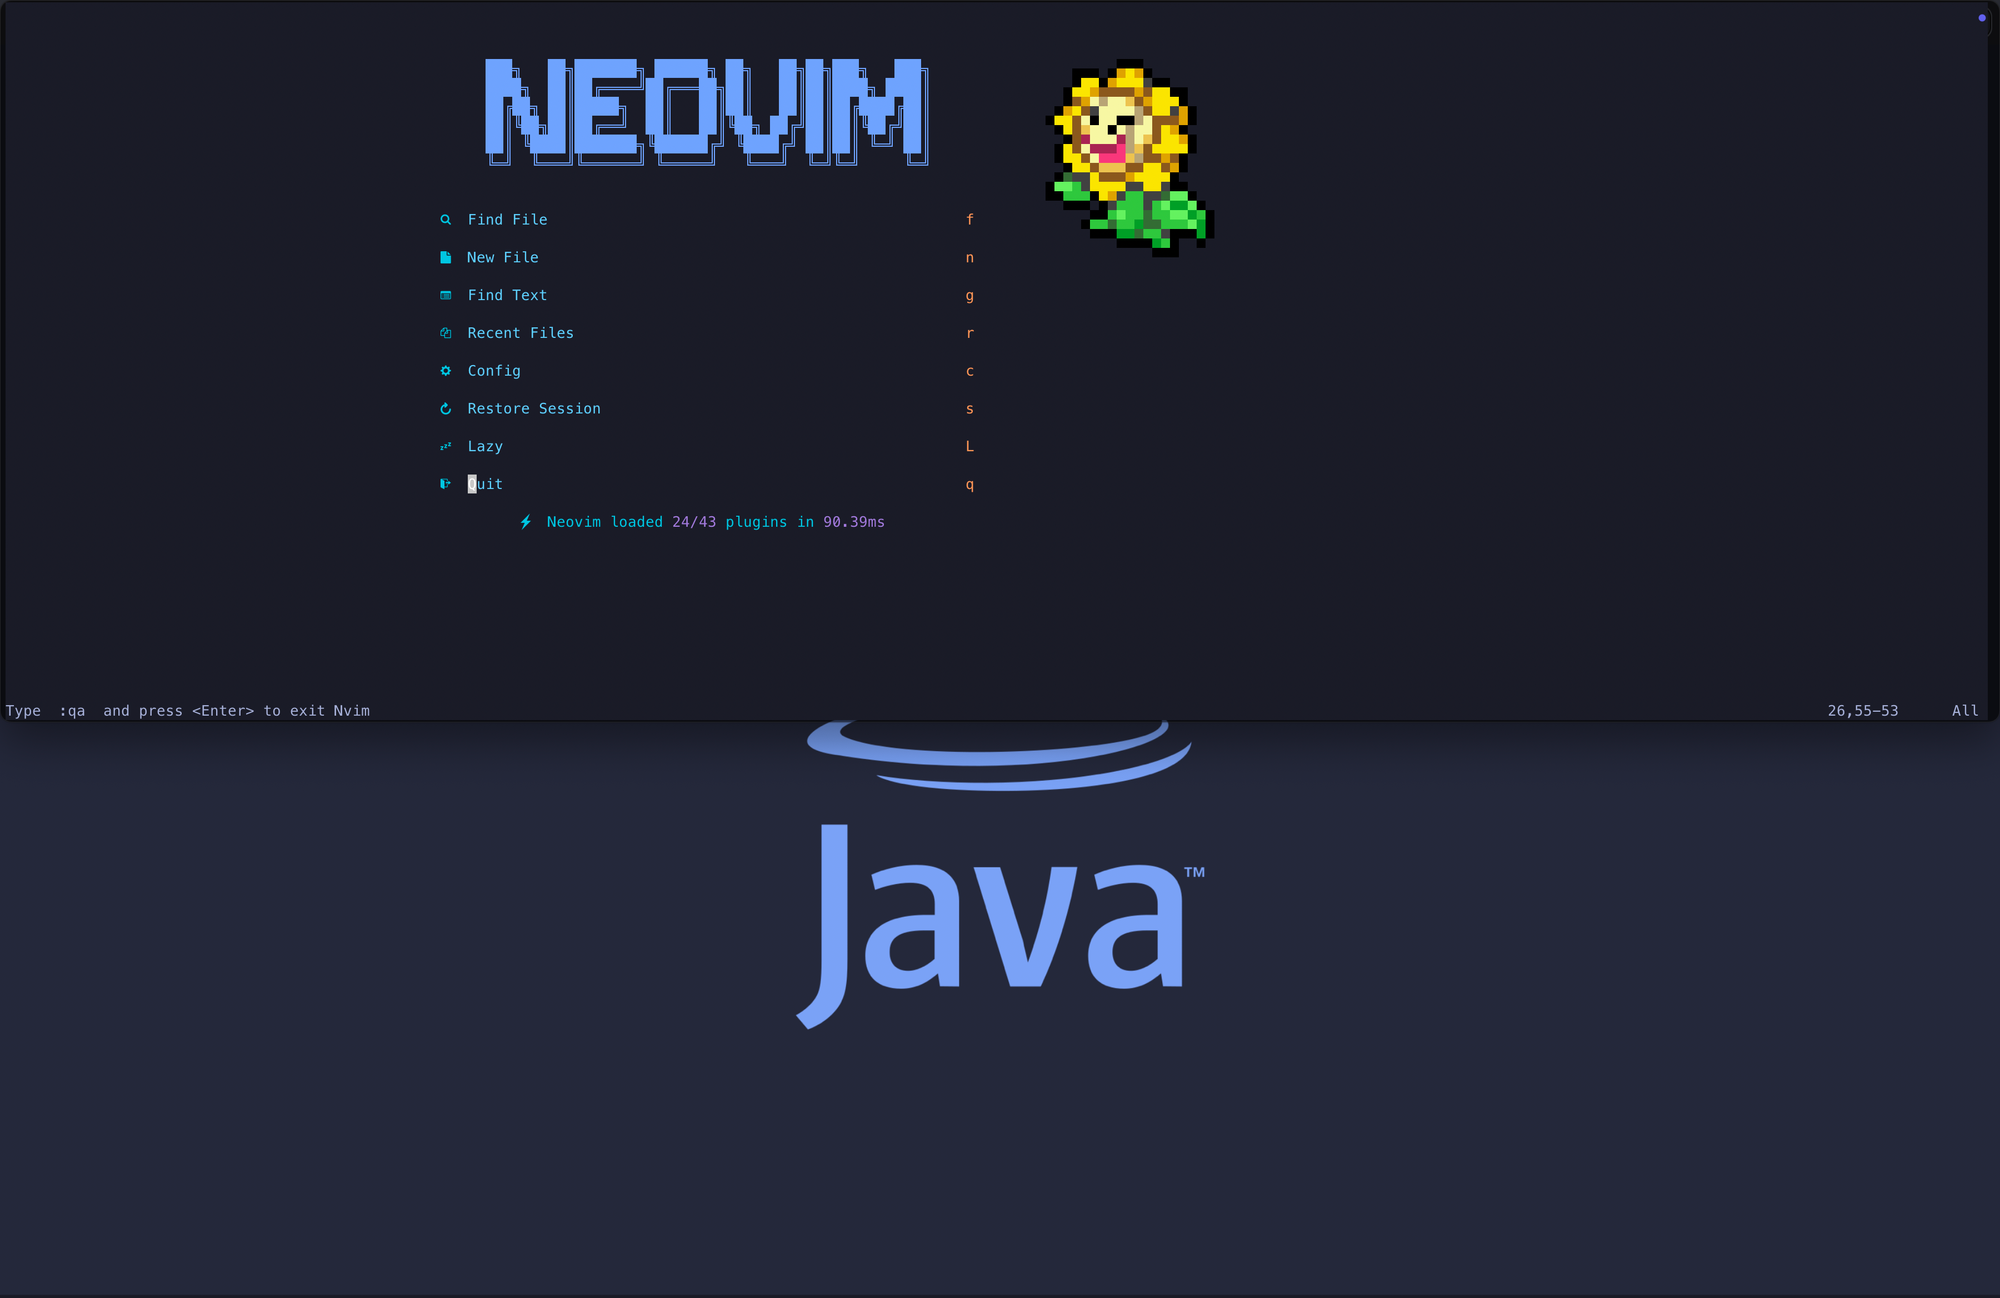
Neovim
The core of my experience on my computer outside browsing and emailing lies in my sweet text editor Neovim.
For you tech history buffs, check out this blog post that details the predecessors of Neovim namely vi -> Vim -> Neovim.
For a quick rundown: Neovim is a fork of the text editor Vim.
Installing Neovim
You can install Neovim with brew using the command brew install neovim
You might have seen your professor using vi or vim (vi improved) to write code in the unix terminal.
Modal Editing
Uniquely, Vim is a modal text editor having distinct modes for different text-editing functionality.
The key ones are:
- Normal
- Visual
- Insert
Normal is your way to move around your text file. Utilizing the keys h, j, k, l you can move around your file.
Visual mode allows your to select text under your cursor allowing your to yank (copy) and delete text and so many more operations.
Lastly insert mode allows your to write text at your cursor. In contrast to your normal text editor like Word. You can't make changes to the text content without being in insert mode or another mode called replace.
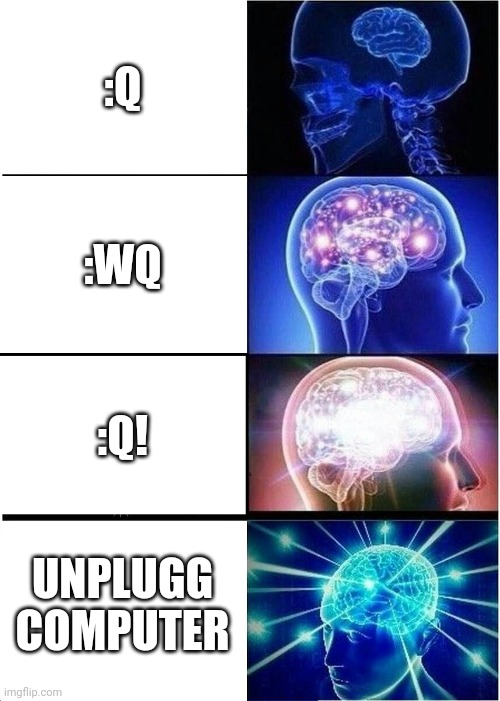
This might sound confusing—and it definitely can be at first!
Learning Neovim/Vim is hard, but I believe it's worth giving it a try. When a software engineer/cs student spends a large portion of their time writing and editing code having the most efficient text editor for you is crucial.
If your working in Neovim, a great way to start is by typing :Tutor directly in Neovim.
If you try Neovim/Vim and get stuck in your terminal—I can't promise I'll always be there to rescue you. (Just kidding! But seriously, good luck.)
Neovim Setup: Tailoring the Ultimate Workflow
Neovim is highly configurable and out of the box it may seem underwhelming. Luckily with an amazing open source community your editor can be as barebones or overloaded as you want.
The configuration is written in Lua a simple programming language similar to python.

For a sane start checkout the repo below to get started or take a peak at mine for a few of the plugins that I use for more functionality.
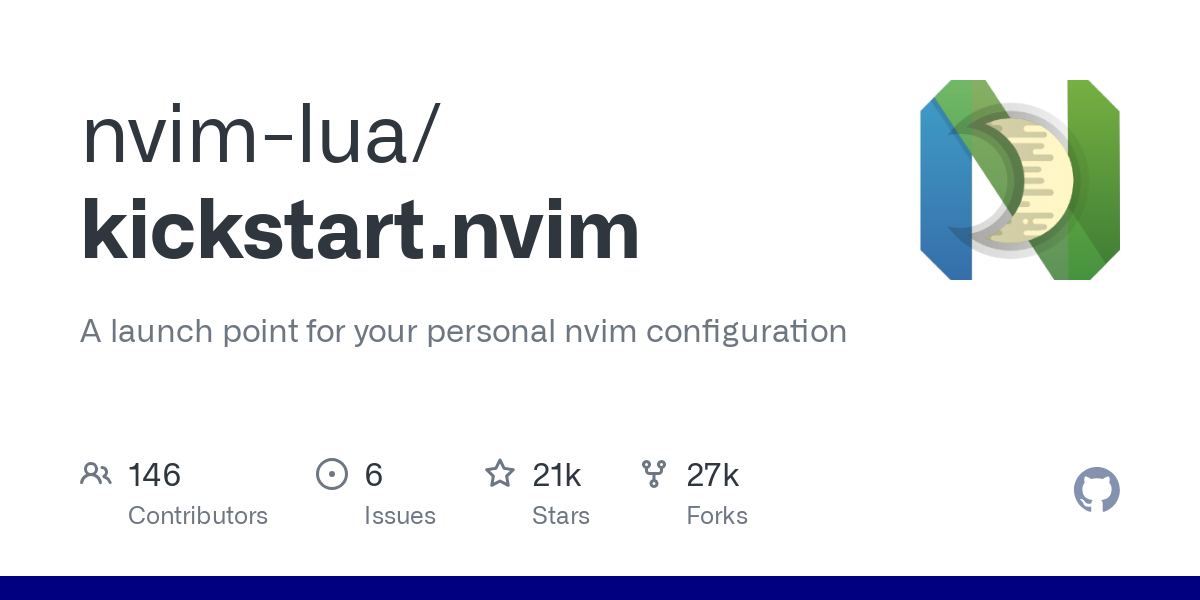
Great starting point for your neovim config
My personal neovim config (always a WIP)
IDEs
An Integrated Development Environment (IDE) is a software application that provides a comprehensive set of tools for software development, combining features like code editing, building, testing, and debugging in one place to enhance programmer productivity.
VS Code
On my system I use VS Code as my main IDE. When I'm working on larger projects with many files and folders, I will usually default to VS Code.
In VS Code I still keep my VIM key binds through an extension. A feature I've recently found useful—especially when building larger applications—is GitHub Copilot, which integrates directly into VS Code.
This feature allows LLMs like ChatGPT and Claude to interact directly with you codebase, to help brainstorm, debug, and even write code.
Students can get free access to Copilot through the Github Student Developer Pack! (must grab for students, there are lots of free tools)

Other IDEs
Cursor - A popular AI-powered editor built on top of VS Code.
IntelliJ IDEA - A great JetBrains IDE for Java and my go to for my university java classes.
Window Manager
A window manager is system software that controls the placement, appearance, and behavior of windows within a graphical user interface (GUI), working in conjunction with the underlying graphical system.
This is one of the features I missed most after switching to mac and I didn't discover my current window manager until almost half a year after switching.
Yabai - tiling window management for mac
Yabai is one of my favorite apps through albieit there are pretty frequent glitches with how it interacts with applications on mac, but it's still a much better than the default experience in my opinion.
Yabai automatically arranges your windows in a clean, tiled layout on your screen. If I open up a web browser and then my terminal, both apps will automatically spilt screen and adjust their spaces automatically.
To go with yabai and enhance my desktop workflow, I utilize skhd a simple keyboard shortcut application which allows the user to create custom keyboard shortcuts.
By combining this with yabai, I can easily move tiled windows around, jump between macOS desktops, and move applications between desktops—all using keyboard shortcuts.
Here is my configs for yabai and skhd to save time getting started:
This feature is so engrained in my workflow that I can't go without it.
If yabai is a bit difficult to configure a simpler alternative that I first used was rectangle, which allows users to tile windows using keyboard shortcuts.
Sketchybar - custom status bar for macOS
A really cool project that I use is Sketchybar which is a replacement for the default macOS status bar.
Sketchybar lets you customize your status bar exactly as you like, adding features like icons showing open apps on each desktop, CPU usage indicators, and more.

My setup is based heavily on the setups available in this repo!
Raycast - better Spotlight
You can install Raycast with brew using the command brew install --cask raycast
Raycast is a better spotlight that has loads of extensions from AI directly directly in your spotlight, to clipboard managers, and more.
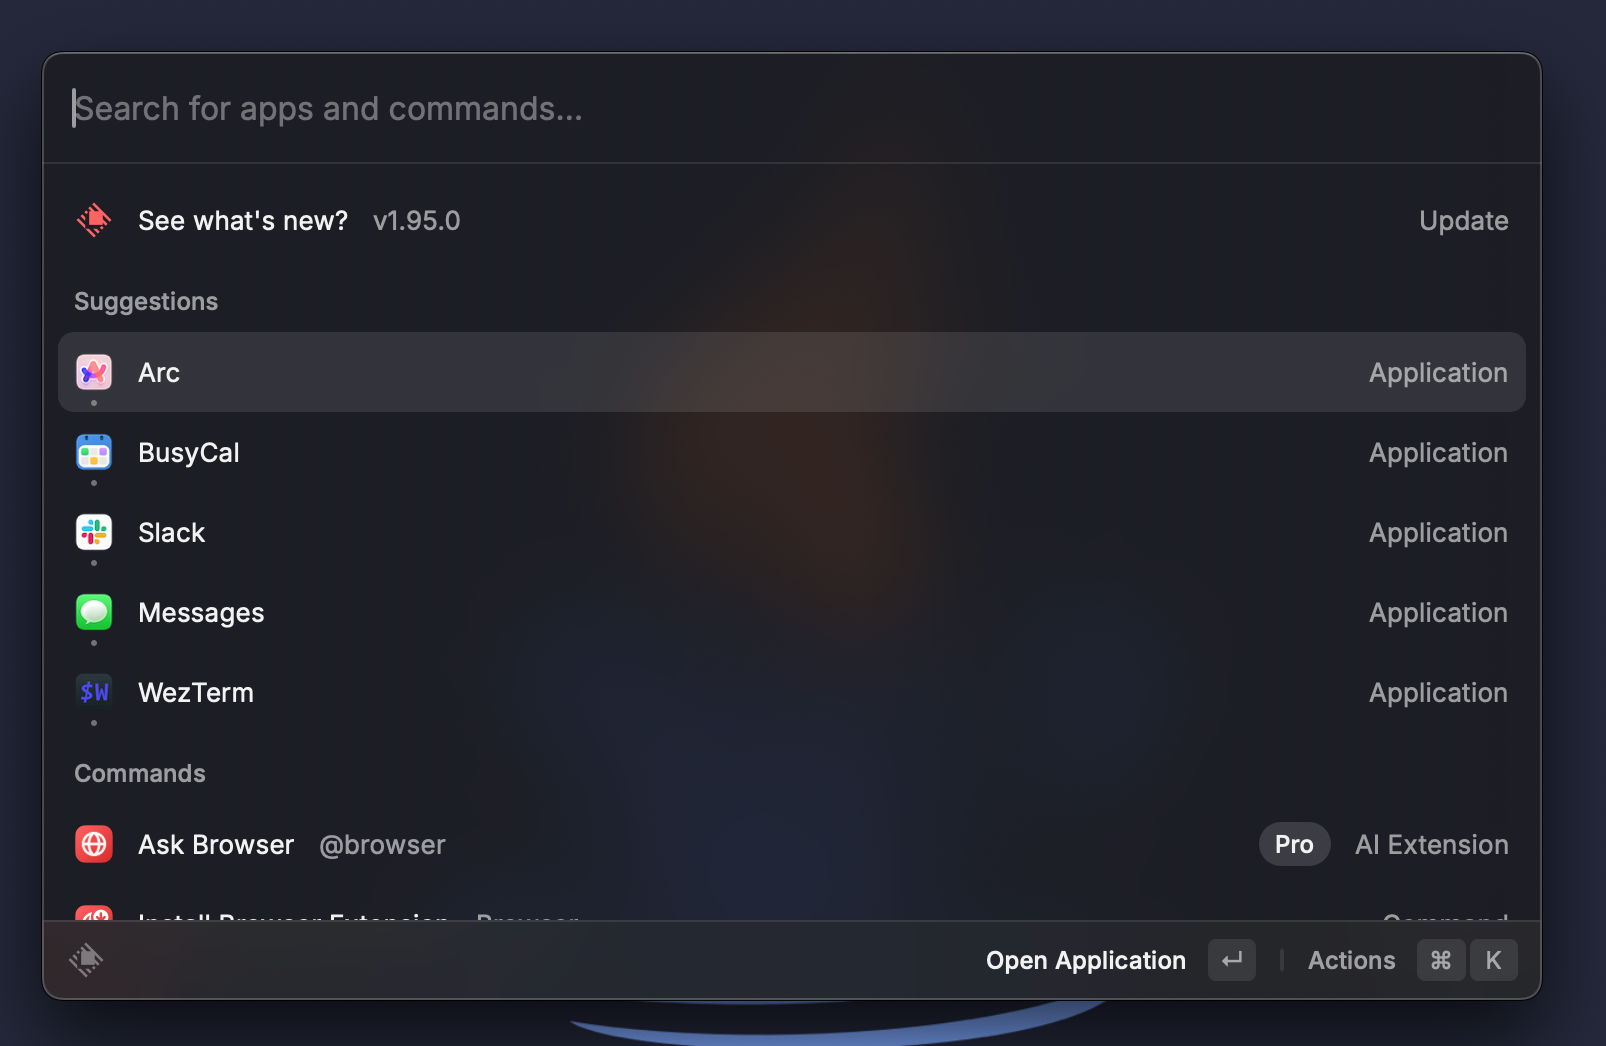
Honestly, I mainly use Raycast to quickly search for and launch applications, but even just its ability to filter spotlight results makes it indispensable.
What's Next? Taking Your Dev Environment to the Next Level!
I hope this glimpse into my favorite dev tools has inspired you to experiment and optimize your own workspace. If you've enjoyed this post, subscribe to my blog for:
- Step-by-step tutorials on customizing your dev environment
- Deeper dives into powerful productivity tools like Neovim and Yabai
- My personal dotfiles and configurations
- Real-world insights from my journey as a CS student and aspiring software engineer
My goal is to create a community where we can share and learn from each other's setups and workflows. Whether you're just starting out or looking to enhance your current environment, let's grow and improve together.
What tools or configurations would you like me to explore next? Drop your suggestions in the comments, and don't forget to subscribe for future updates!